

|
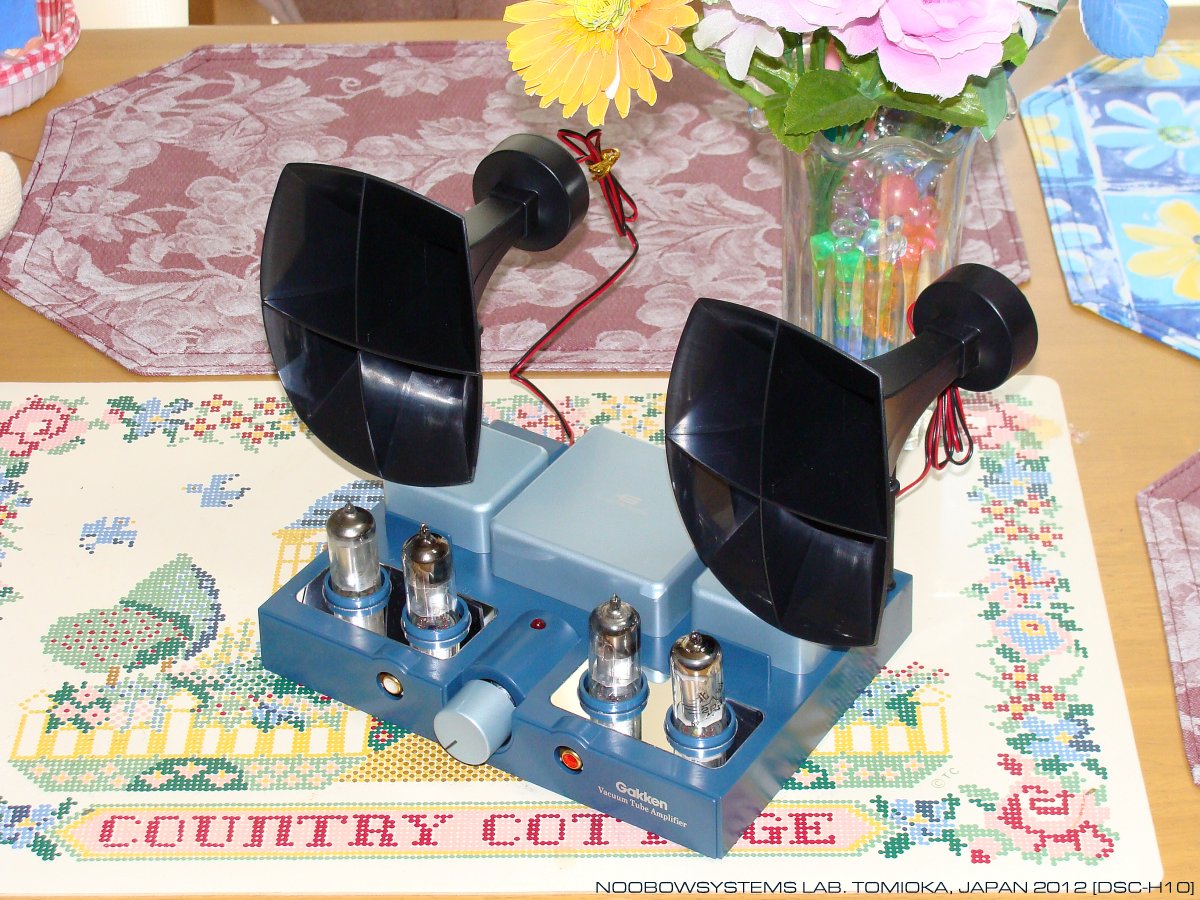
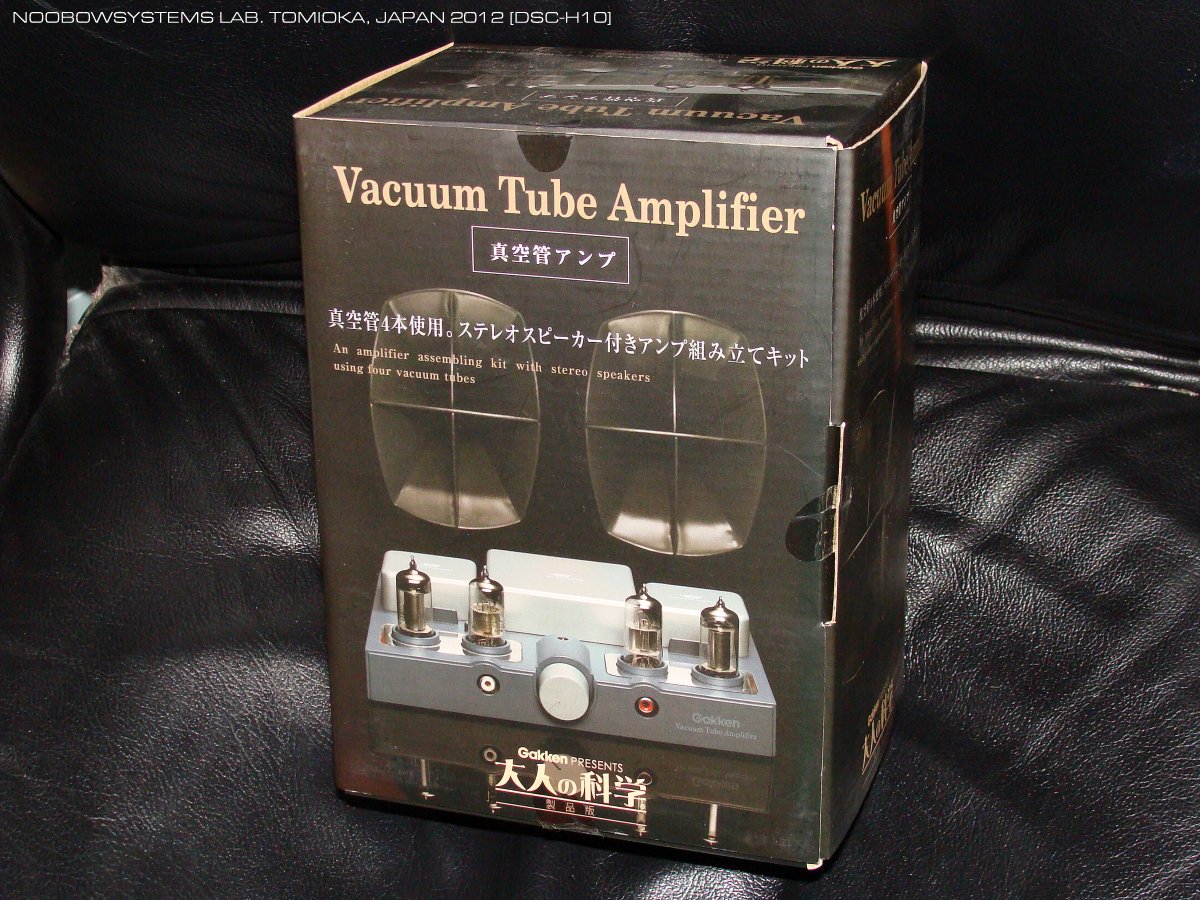
Gakken Vacuum Tube Amplifier Kit
There are many vacuum tube amplifier kits in the market and I wanted to build one,
but there are enough components in the lab to build a small audio amplifier.
Why should I pay for a kit, when I have everything in my stock?
However I have been too lazy to start metal work to prepare chassis. Years simply passed without any result. On a day in this summer holiday week Pogo and Yome started to build small wood house model kits, I started to build this vacuum tube amplifier kit by Gakken, which has been stored for years. |
|
真空管アンプのキットはずいぶん楽しそうなものが発売されています。
どれか一つ作ってみようかとも思うのですが、ミニパワーの真空管アンプをつくるための部品ならラボに十分にあるから、
わざわざ高価なキットなんか買わなくてもと思い、ためらってしまいます。
しかし実際にはシャーシを加工する元気もなく、結局まったく進展なし。 夏休み初日の土曜日、今日は工作の日とのことで、ポゴとヨメは昨年に続きキットのモデルハウスの製作にとりかかりました。 今年はフロアマット用強力ハサミを貸し出したほかはパパはお手伝いの必要はなし。 じゃあオレもなにか作ろう。 最近元気がないから気合の入ったものは避けて、そうだ、だったらずいぶん長い間ほったらかしだった学研のキットをどれかひとつ作ろう。 同社のラジオキットはほとんどすべて無条件で発注しています。 でも実際に組み立てることはなく、数えてみると6種類のキットが新品のままラボに長期保管状態になってしまっています。 そのうちのひとつは真空管アンプキット。 パッケージを見てこれも実用にはならないだろうと思いつつ、いつかのお楽しみにと思って買ってあったものです。 今日は、これ。 キットはエレクトロニクスの知識ほぼゼロの人でも組み立てられるよう配慮されていて、配線作業は一切なし。 使用する工具はドライバー1本。 そのドライバーさえ付属しています。 はんだ付けをしたことがない電子工学系大学出身者がいるご時勢ですからこれでいいのだと思いますが、 これじゃあ小学3年生レベルだな。 このアンプは4本の電池管によるステレオアンプで、各チャネルは2段増幅。出力段は5極管(ビーム4極管)のA級動作で、出力トランスを駆動します。 電源は単1乾電池を2本。 電池は並列に接続されていて、電源電圧は1.5Vです。 プレート電源は基板上に設置された電源ユニットで昇圧されている様子ですが、 組み立て手順に従っている限りは高圧に手を触れることはないように配慮されています。 組み立てを終えてテストしてみると、やはりパワーは室内用としても不足。 ボリュームを上げると飽和し始めてしまいます。 ヘッドフォンアンプとしてならどうだろうとも思いましたが、 低域の落ち込みも顕著で、実用するためには再生機側でおもいっきり低域ブースト/高域アッテネートしなくてはなりません。 残念ながら音量・音質とも実用性はゼロです。 となればお楽しみの開始、 電池管をやめてオーソドックスな電源回路を追加し、ごく普通の真空管を使うように改造するとか、 負帰還をかけるとか、アイデアはいろいろあります。 でもそうするなら最初からシャーシを起こして作り上げたほうが手っ取り早いし。 1万円を超える価格のこのキットは、2時間ほど楽しんだ後に箱に戻してふたたび長期保管扱い。 結局、私の真空管アンプづくりは最初のステップに戻ってしまいました。 |
 Building was quite simple as it was designed to be built by general public, no soldering or electronics knowlege necessary. The kit requires a screw driver to built, and that driver is even included in the kit. The amplifier uses 4 battery tubes. It runs from two D batteries in aparallel; the supply power voltage is mere 1.5 volts. The B voltage is generated by a power unit which is enclosed in a metal container on the PCB. As long as the builder follows the assemby instruction, one will not touch the high voltage. The kit comes with plastic horn speakers. Soon after the amplifier started to operate, it was quickly found that its power is too low even in a quite room, and distortion is obvious when the volume goes up. Its low frequency response is weak. Ample bass cannot be expected from such small horn speakers, but even with standard speakers, bass is still too weak. A considerable bass boosting is necessary by the source equipment in order to get practical frequency balance. Conclusion is that this amplifier does not have a practical performance at all. Now the fun should begin. One may add a typical AC high voltage power supply to get full power out of the tubes, replacing the output transformer to good ones, and adding negative feedback networks to compensate the frequency response. Replacing Chinese made battery tubes with more suitable tubes shall also be considered. But in that case a scratch build would be much easier than modifying this kit. After all, there is no practical reason using this kit. So... my amplifier building has returned to the initial state. |